Laundry Room
For this being the smallest room in our house it presented the most challenge; mostly because of the washer and dryer and user error. I have no idea how they got our washer and dryer in the room so I was not going to try and take them out for this project, instead I climbed, squeezed and everything in between to work around them.
First thing I knew I wanted was storage, we had one shelf that was pretty high to reach. I ripped that out and used 3 pre-fabricated cabinets to hang on the wall. Marked the studs, placed a 2x4 at the base of where the cabinets would be to ensure they would be level and screwed them in. Simultaneously, I built a broom closet which was a nightmare, I swear this stupid closet took more time than the actual room. In theory, it seemed like a good idea until I realized our walls were not 100% level and slides (which I needed to use to hold the weight) wouldn't work. I ended up scrapping it and trying to give our current laundry cart a built in look, this took forever too and I ended up scrapping that as well and decided to start the wall treatment.
I skim coated the wall first then added 1x6 planks on top and 1x3 vertical planks to give the look of board and batten. I painted everything Evergreen fog, or what I thought was Evergreen Fog, your girl didn't read the paint label and painted it another green which didn't match the cabinets, so I had to start over and re-paint the wall. At this point I was SO over this room and project. It had already taken alot longer than I would've liked due to me being away from home for Briar's therapy and I was just super antsy to finish which equaled me making dumb mistakes.

I built the floating shelf, my first time building a floating shelf aside from the fireplace mantel and it was pretty easy. I had to make the shelf pretty narrow since our washer is top load but it was still wide enough to hide most of the hookups needed for the appliances. I then decided to add shiplap panelling I had left over from the boys bathroom to the back behind the washer/dryer. I DID NOT panel behind the appliances, no one will see and the washer/dryer will most likely stay in the house if we move so I didn't bother.
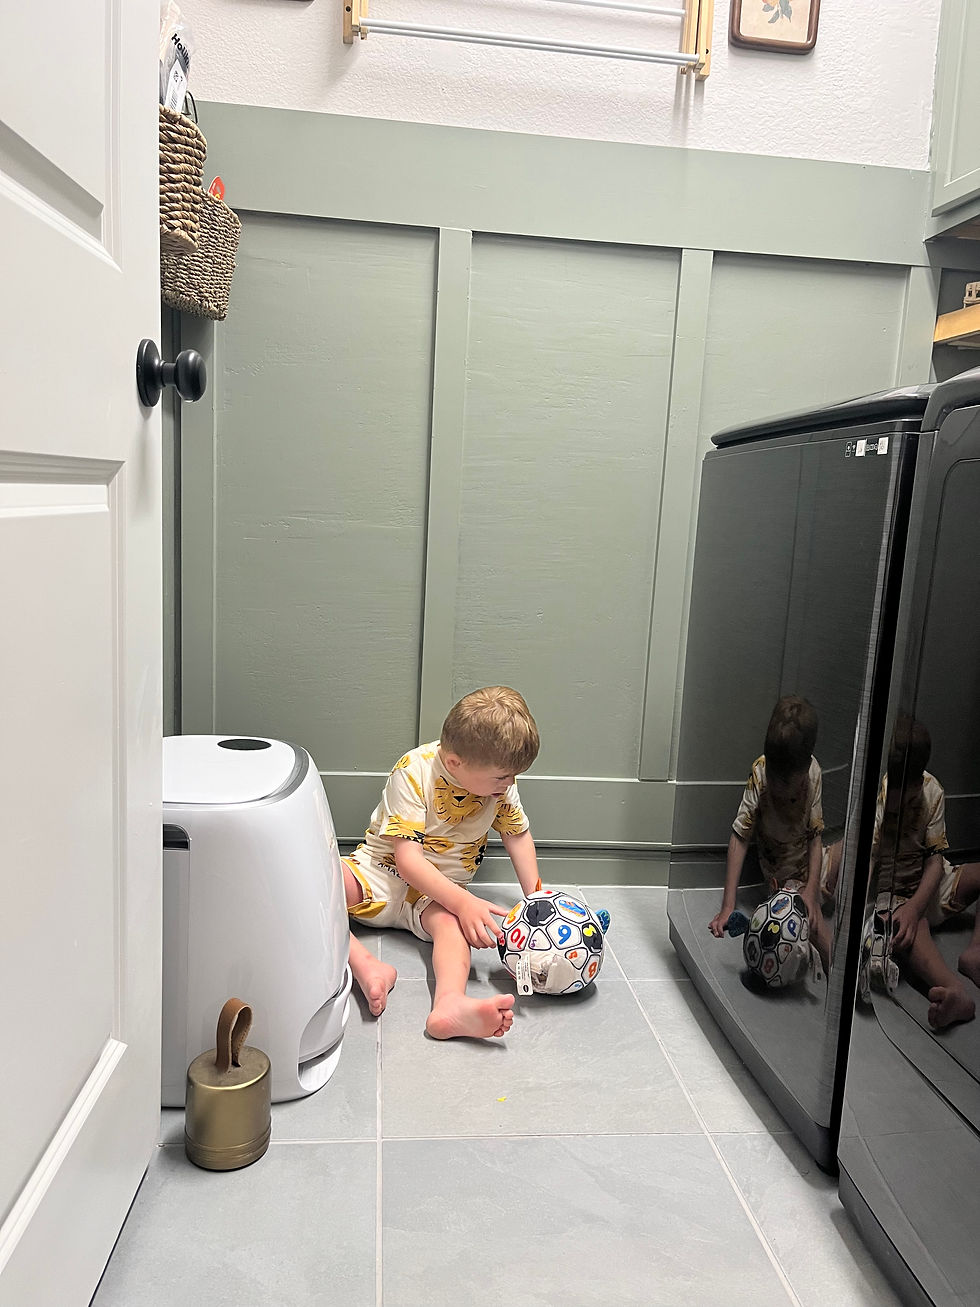
Now it was tile time. I've never tiled before and was going to use Musclebound since it was my first time but coudln't justify the cost difference between that and mortar for such a tiny space. I got a tile saw for Christmas and didn't even use it for this project since my tile was mosaic, I ended up cutting the seams with scissors and it was super easy. I learned quickly that a little mortar goes a LONG way and once the tile was on, it looked like crap lol. I was thinking of calling a professional to fix it but decided to finish it out and once the grout was on it looked SO much better, like an actual tile wall, so I'm pleased.

Last thing I decided to change was our light. If you haven't caught on, I had zero plans except for cabinets for this room everything else just came to me as I went along lol. We had a flourescent light in the room before and I had it replaced with a recessed light (I had an electrician do this). It made ALL the difference. Flourescent lights are so harsh and bright.


Comments